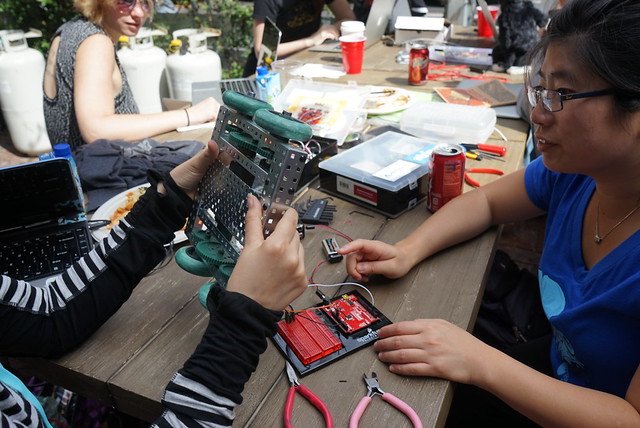
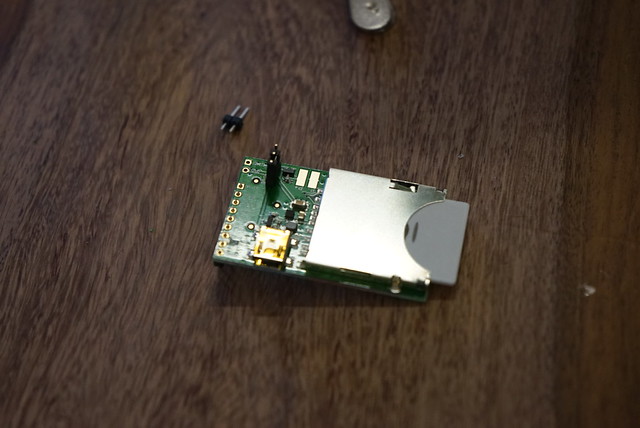
I joined Silicon Chef- women's hardware hackathon this weekend.
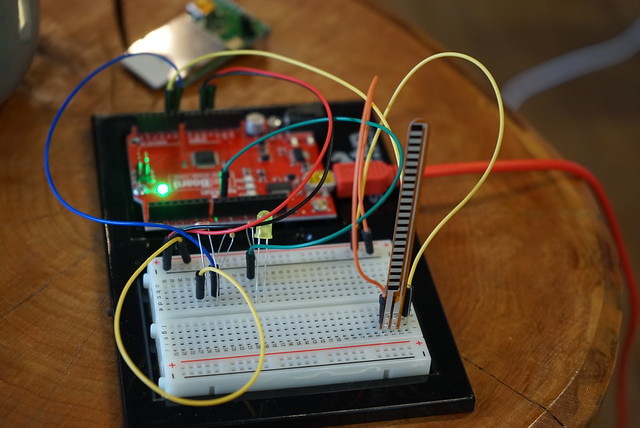
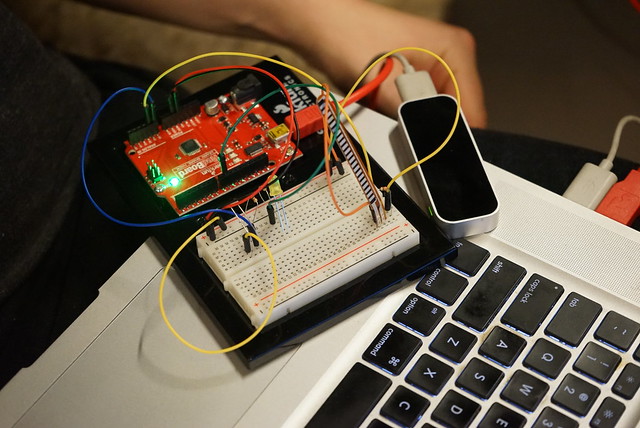
Our team "Nature's Lullaby" made a musical instrument using Adruino, Max, light sensor, flex sensor and leap motion.
1. Getting Arduino setup:
Install Arduino
http://arduino.cc/en/main/software
FTDI driver
http://www.ftdichip.com/Drivers/VCP.htm
SparkFun Inventor’s Kit Guide
http://dlnmh9ip6v2uc.cloudfront.net/datasheets/Kits/SFE-SIK-RedBoard-Guide-Version3.0-Online.pdf
2. Making the LED blink, and change the parameters based on photo resistor and flex sensor
Hello world- making the LED blink:
void setup()
{
pinMode(13, OUTPUT);
}
void loop()
{
digitalWrite(13, HIGH); // Turn on the LED
delay(100); // Wait for one second
digitalWrite(13, LOW); // Turn off the LED
delay(100); // Wait for one second
}
Using photo resistor to change the light level of LED:
const int sensorPin = 0;
const int ledPin = 9;
int lightLevel, high = 0, low = 1023;
void setup()
{
pinMode(ledPin, OUTPUT);
}
void loop()
{
lightLevel = analogRead(sensorPin);
manualTune(); // manually change the range from light to dark
analogWrite(ledPin, lightLevel);
}
void manualTune()
{
lightLevel = map(lightLevel, 0, 1023, 0, 255);
lightLevel = constrain(lightLevel, 0, 255);
}
void autoTune()
{
if (lightLevel < low)
{
low = lightLevel;
}
if (lightLevel > high)
{
high = lightLevel;
}
lightLevel = map(lightLevel, low+30, high-30, 0, 255);
lightLevel = constrain(lightLevel, 0, 255);
}
3. Hooking up Arduino with Max:
Install Max
http://cycling74.com/downloads/
Fetching data of Arduino pins (in this case, data of photo resister) to Max
Maxuino
http://playground.arduino.cc/Interfacing/MaxMSP
/*
* Arduino2Max
* Copyleft: use as you like
* by Daniel Jolliffe
* Based on a sketch and patch by Thomas Ouellet Fredericks tof.danslchamp.org
*/
int x = 0; // a place to hold pin values
int ledpin = 13;
void setup()
{
Serial.begin(115200); // 115200 is the default Arduino Bluetooth speed
digitalWrite(13,HIGH); ///startup blink
delay(600);
digitalWrite(13,LOW);
pinMode(13,INPUT);
}
void loop()
{
if (Serial.available() > 0){ // Check serial buffer for characters
if (Serial.read() == 'r') { // If an 'r' is received then read the pins
for (int pin= 0; pin<=5; pin++){ // Read and send analog pins 0-5
x = analogRead(pin);
sendValue (x);
}
for (int pin= 2; pin<=13; pin++){ // Read and send digital pins 2-13
x = digitalRead(pin);
sendValue (x);
}
Serial.println(); // Send a carriage returnt to mark end of pin data.
delay (5); // add a delay to prevent crashing/overloading of the serial port
}
}
}
void sendValue (int x){ // function to send the pin value followed by a "space".
Serial.print(x);
Serial.write(32);
}
 Added a patch to change photo resister data to audio
(practically this is a theremin)
 Fixing the patch to get various output sounds based on the light parameter and flex parameter.

4. Configure Max to read sample audios and remix

5. Setting up Leap Motion
https://developer.leapmotion.com/
Now we can do gesture input.
6. Making Leap Motion talk with Max
https://github.com/derekrazo/o.io.leap
http://cnmat.berkeley.edu/downloads
Adding Leap input to change the pitch of the sound, configured in Max.

Result:
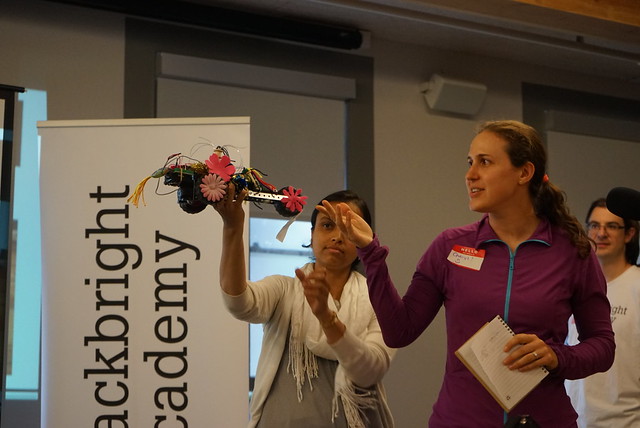
We've got 3 levels of thresholds for light sensor, with frog sound and nature sound (as a lullaby to put you into sleep...), with additional strong light from flashlight app of Android we'll get a cat's meow sound (to wake you up), with flex sensor we'll get a rooster sound (if you were not waken up by the cat) and with Leap motion we can make that rooster sound changed to a digital squeak (to wake up the zombies).

[photo by Hackbright Academy]
It was not my first time playing with Arduino and Leap Motion, but my first time using Max. We had 2 experts on our team so they were able to figure out many things on the fly- I think I should get back to the elementary level and try out using it a bit more. Many thanks to the team for helping me learn!

Our team "Nature's Lullaby" made a musical instrument using Adruino, Max, light sensor, flex sensor and leap motion.
1. Getting Arduino setup:
Install Arduino
http://arduino.cc/en/main/software
FTDI driver
http://www.ftdichip.com/Drivers/VCP.htm
SparkFun Inventor’s Kit Guide
http://dlnmh9ip6v2uc.cloudfront.net/datasheets/Kits/SFE-SIK-RedBoard-Guide-Version3.0-Online.pdf
2. Making the LED blink, and change the parameters based on photo resistor and flex sensor
void setup()
{
pinMode(13, OUTPUT);
}
void loop()
{
digitalWrite(13, HIGH); // Turn on the LED
delay(100); // Wait for one second
digitalWrite(13, LOW); // Turn off the LED
delay(100); // Wait for one second
}
const int sensorPin = 0;
const int ledPin = 9;
int lightLevel, high = 0, low = 1023;
void setup()
{
pinMode(ledPin, OUTPUT);
}
void loop()
{
lightLevel = analogRead(sensorPin);
manualTune(); // manually change the range from light to dark
analogWrite(ledPin, lightLevel);
}
void manualTune()
{
lightLevel = map(lightLevel, 0, 1023, 0, 255);
lightLevel = constrain(lightLevel, 0, 255);
}
void autoTune()
{
if (lightLevel < low)
{
low = lightLevel;
}
if (lightLevel > high)
{
high = lightLevel;
}
lightLevel = map(lightLevel, low+30, high-30, 0, 255);
lightLevel = constrain(lightLevel, 0, 255);
}
3. Hooking up Arduino with Max:
Install Max
http://cycling74.com/downloads/
Fetching data of Arduino pins (in this case, data of photo resister) to Max
Maxuino
http://playground.arduino.cc/Interfacing/MaxMSP
/*
* Arduino2Max
* Copyleft: use as you like
* by Daniel Jolliffe
* Based on a sketch and patch by Thomas Ouellet Fredericks tof.danslchamp.org
*/
int x = 0; // a place to hold pin values
int ledpin = 13;
void setup()
{
Serial.begin(115200); // 115200 is the default Arduino Bluetooth speed
digitalWrite(13,HIGH); ///startup blink
delay(600);
digitalWrite(13,LOW);
pinMode(13,INPUT);
}
void loop()
{
if (Serial.available() > 0){ // Check serial buffer for characters
if (Serial.read() == 'r') { // If an 'r' is received then read the pins
for (int pin= 0; pin<=5; pin++){ // Read and send analog pins 0-5
x = analogRead(pin);
sendValue (x);
}
for (int pin= 2; pin<=13; pin++){ // Read and send digital pins 2-13
x = digitalRead(pin);
sendValue (x);
}
Serial.println(); // Send a carriage returnt to mark end of pin data.
delay (5); // add a delay to prevent crashing/overloading of the serial port
}
}
}
void sendValue (int x){ // function to send the pin value followed by a "space".
Serial.print(x);
Serial.write(32);
}
(practically this is a theremin)
4. Configure Max to read sample audios and remix
5. Setting up Leap Motion
https://developer.leapmotion.com/
Now we can do gesture input.
6. Making Leap Motion talk with Max
https://github.com/derekrazo/o.io.leap
http://cnmat.berkeley.edu/downloads
Adding Leap input to change the pitch of the sound, configured in Max.
Result:
We've got 3 levels of thresholds for light sensor, with frog sound and nature sound (as a lullaby to put you into sleep...), with additional strong light from flashlight app of Android we'll get a cat's meow sound (to wake you up), with flex sensor we'll get a rooster sound (if you were not waken up by the cat) and with Leap motion we can make that rooster sound changed to a digital squeak (to wake up the zombies).
[photo by Hackbright Academy]
It was not my first time playing with Arduino and Leap Motion, but my first time using Max. We had 2 experts on our team so they were able to figure out many things on the fly- I think I should get back to the elementary level and try out using it a bit more. Many thanks to the team for helping me learn!
[photo by Hackbright Academy]
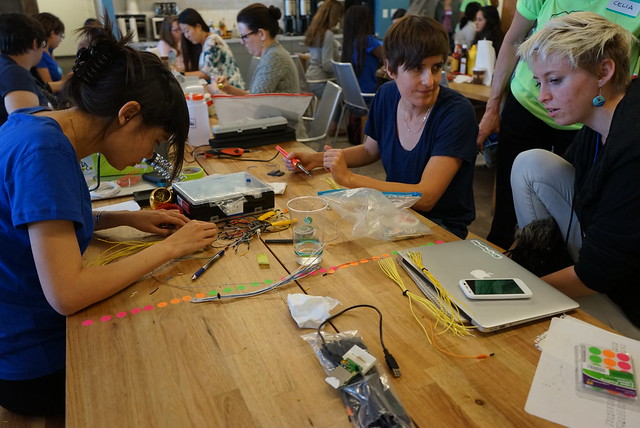
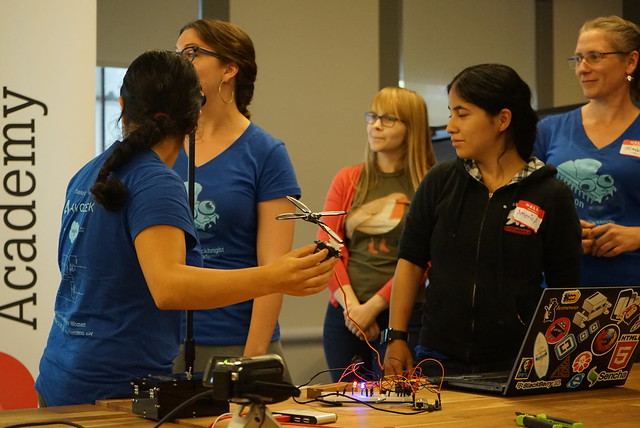
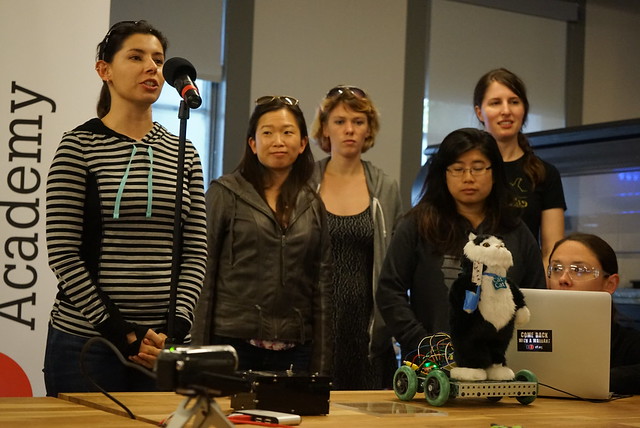
Photos from the event:
Women building things!

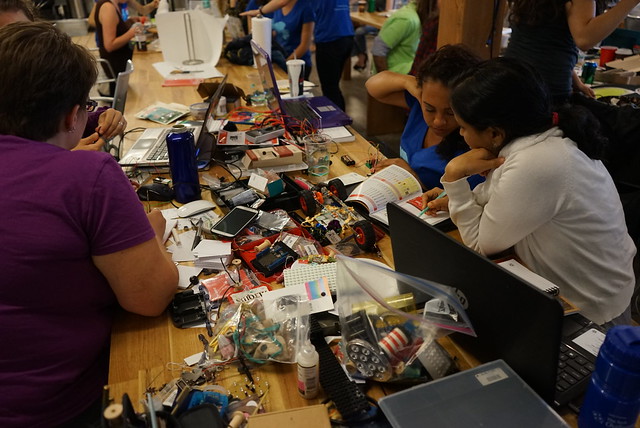

Demos!


Note from TechTalk:
There are lots of cool events happening all around the world!
Nodebot is a global community of developers working on robots powered by JavaScript.

Nodecopter is an event with developers making something with AR Drone & Javascript
Noderocket- Javascript powered missiles
Robotsconf
JS Conf robot soccer game
Electric Imp
https://electricimp.com/
We set it up and ended up not using it this time, but it enables you to connect to wifi... will use it somehow for other projects :)
Useful shortcut info, thanks to Erin!
n = new object
i = integer object
f = floating point number object
m = message (for sending messages like t (for toggle) or b (for bang) or $1 (for use first incoming piece of data) etc.)
b = button
t = toggle
c = comment box (text only, for commenting)
CMD + E = toggle lock/ unlock patch
CMD + OPT + i = open inspector (use with an object highlighted--will open the inspector window for individual settings for that object)
CMD + SHIFT + h = open help (use w/ an object highlighted--will open help window for selected object)
CMD + SHIFT + r = open reference (same as above, but for reference)
My post from last year's Silicon Chef
http://fumiopen.blogspot.com/2013/10/silicon-chef-hardware-hackathon.html
Disclaimer: The opinions expressed here are my own, and do not reflect those of my employer. -Fumi Yamazaki
0 件のコメント:
コメントを投稿